
SQLBackupAndFTP is a utility designed for backing up and restoring databases. It not only allows you to create backups and restore them within a single DBMS, but also provides the functionality to backup SQL Server databases (local or remote) and restore them in Azure SQL, and vice versa. Below is a step-by-step guide on how to configure backup and restore jobs to migrate data from SQL Server to Azure SQL.
Backup Job Configuration
- Create a backup job.
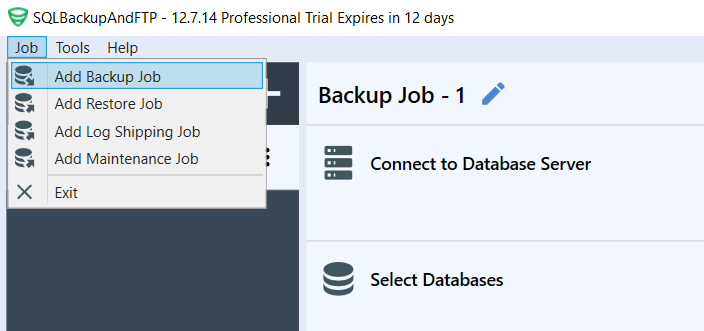
SQLBackupAndFTP – Create a Backup Job - Configure the connection to the DBMS for which you want to create backups. Please note that regardless of whether you need to create a backup for SQL Server (local or remote) or Azure SQL, always select the “Azure SQL Server” connection type. In the “Server Name” field, specify your server name and use the User Name and Password credentials. Please make sure you use the SQL Server Authentication method.
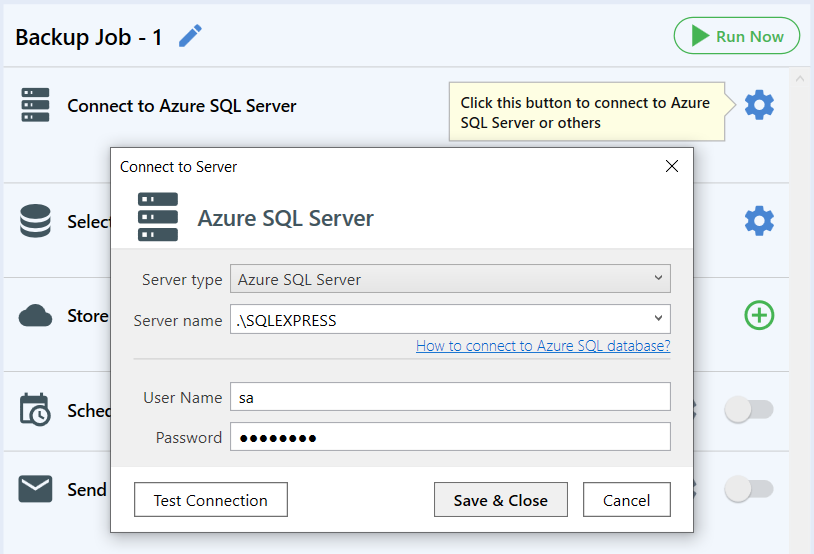
Connecting to SQL Server database - Next, select the databases that should be migrated from SQL Server to Azure SQL, specify the storage destination for the backups, schedule the job, set up email notifications, and adjust any other necessary settings.
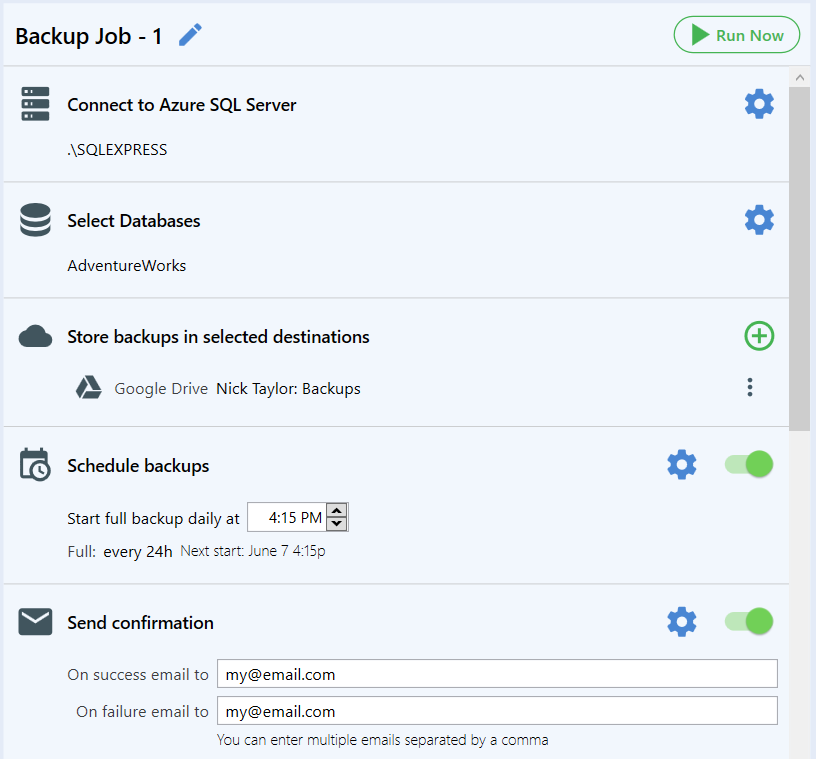
SQLBackupAndFTP backup job settings
Restore Job Configuration
- Create a restore job.
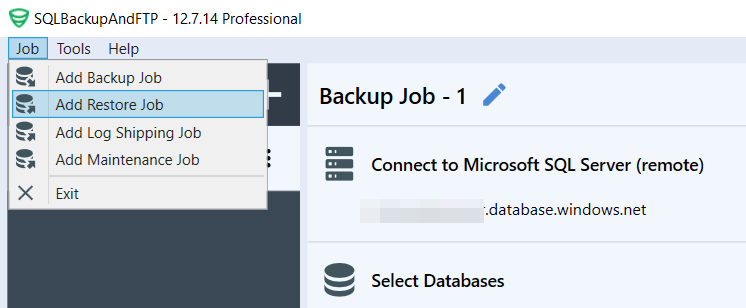
SQLBackupAndFTP – Create a Restore Job - Establish a connection to the storage where the backups are located.
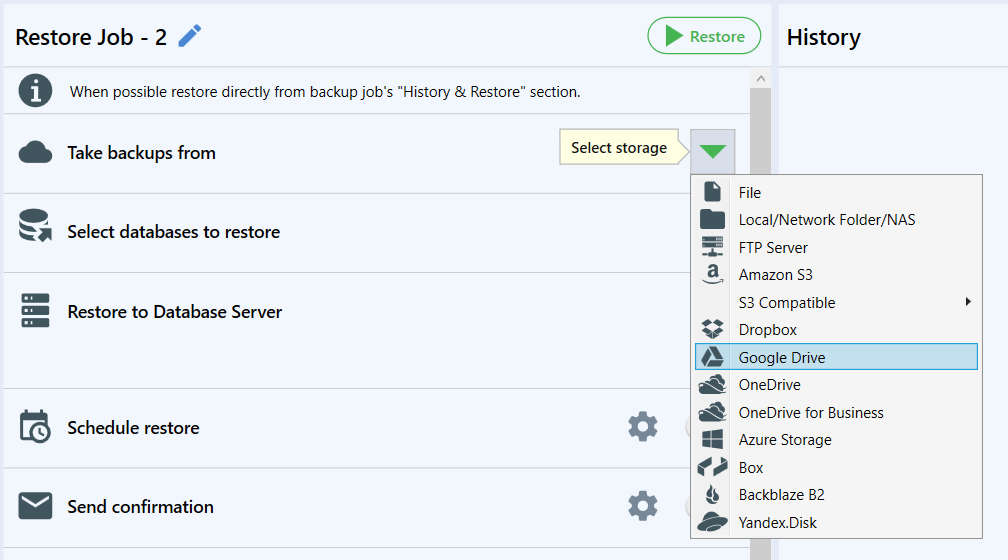
Select the destination from which you need to restore the backups - Select the backup that needs to be restored.
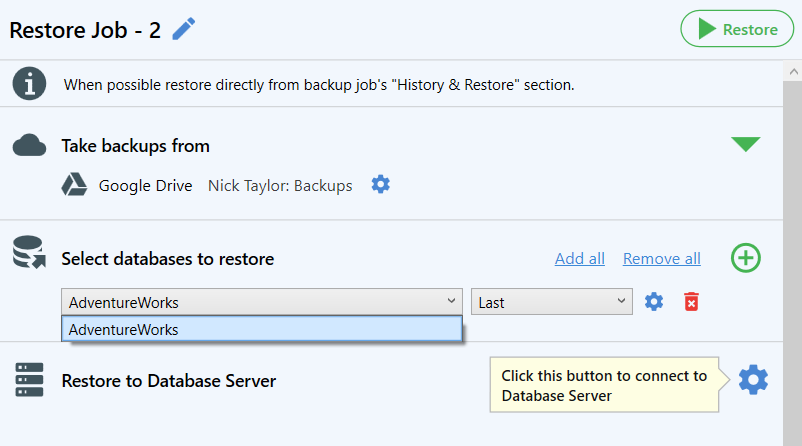
Select the database to restore - Set up the connection in your DBMS using the Azure SQL Server connection type. Specify the Server Name and use the User Name and Password for the connection.
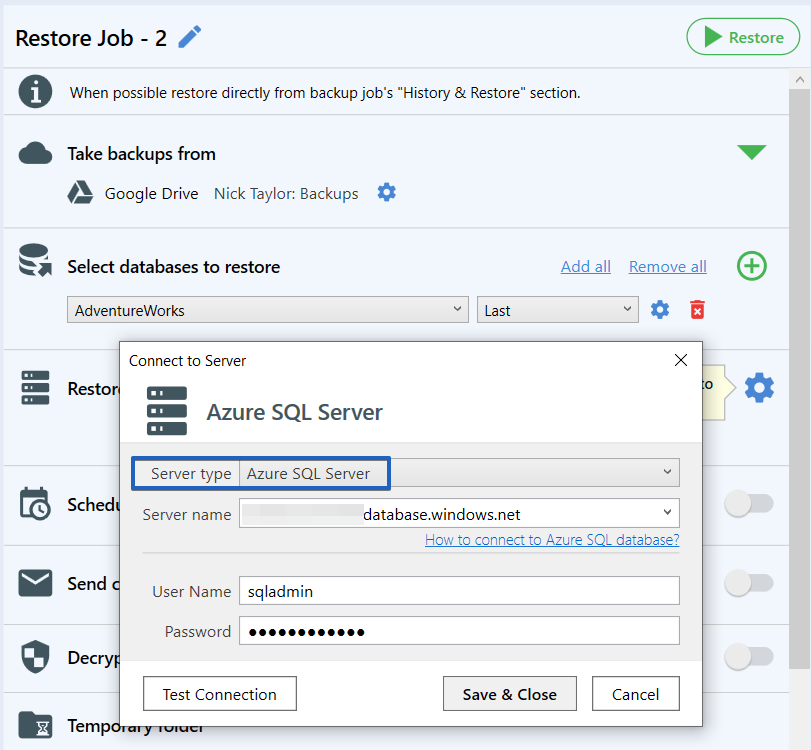
Connect to your Azure SQL - If needed, configure any remaining settings and run the restore job.
Now you know how to copy data from local or remote SQL Server to Azure SQL.
Please note that after the restore is performed, it is crucial to check the Azure tier plans for the restored database.