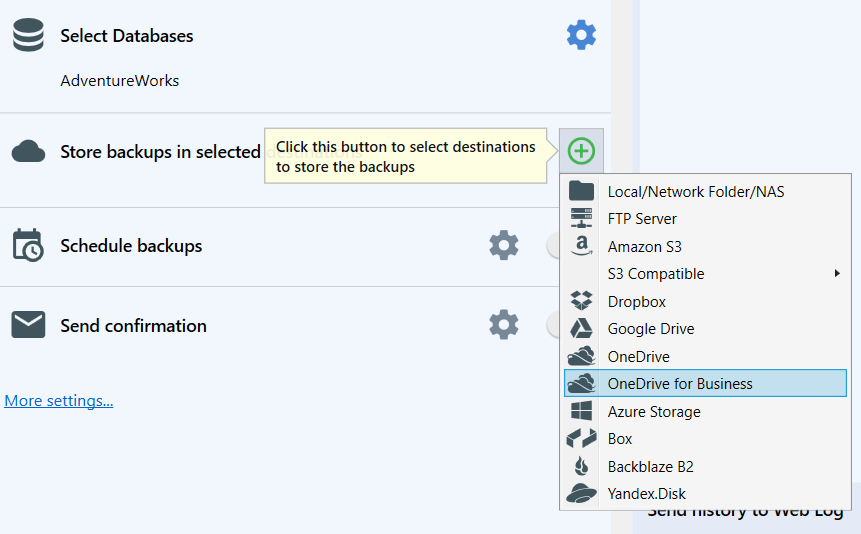
To send the backups to OneDrive for Business, navigate to the Store backups in selected destinations section, click on the plus icon, and select OneDrive for Business.
Basic Minimum Settings
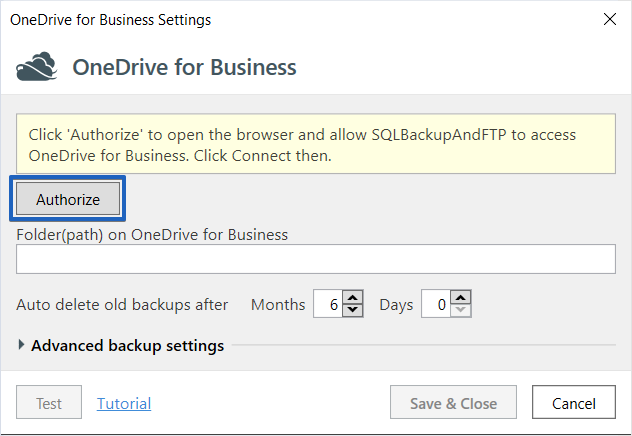
At the opened dialog, click on the Authorize button to open the browser and allow SQLBackupAndFTP to access OneDrive for Business.
On the opened page, copy the code from the SQLBackupAndFTP website and paste it into the application. Then, click the Connect button to establish the connection.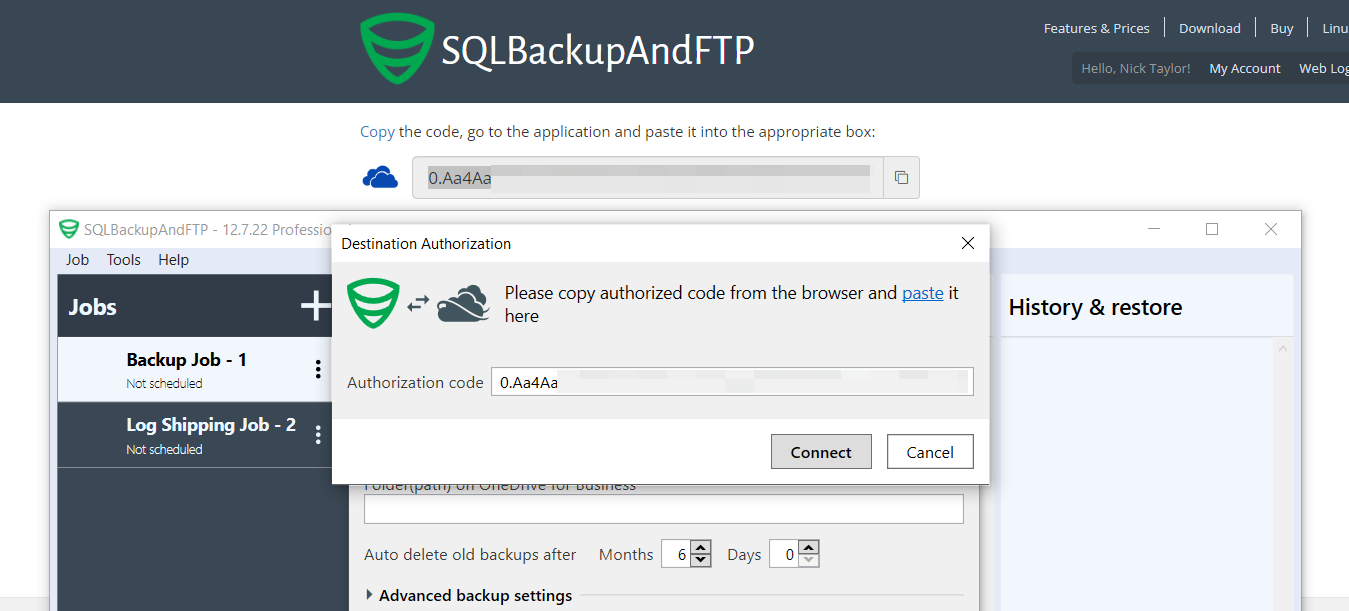
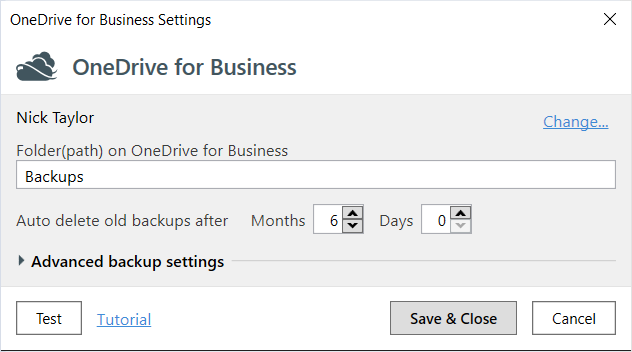
Now specify a folder where the backups should be stored. Additionally, you can set the retention period for your old backups by specifying the time interval in the Auto delete old backups after section.
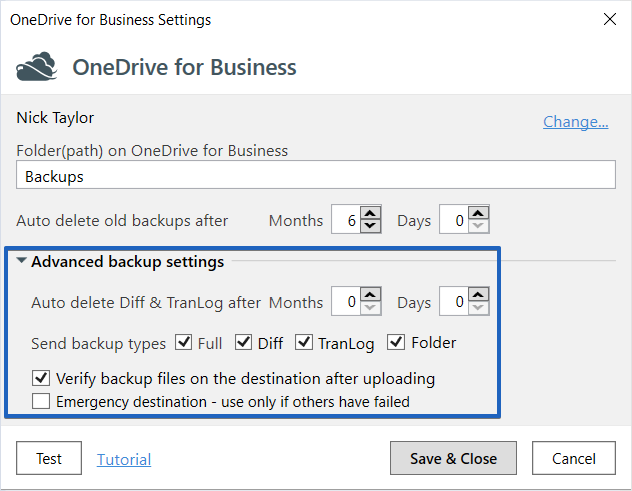
Advanced Backup Settings
- Auto delete Diff & TranLog after Months. Specify the time period after which old differential and transaction log backups should be deleted.
- Send backup types. Tick off what backup types will be stored in the destination.
-
Verify backup files on the destination after uploading. After uploading a file to the destination, SQLBackupAndFTP verifies that the files have been successfully uploaded to the destination. This verification is done using hash sums of the uploaded files.
This feature is useful as it allows you to understand if there were any issues with the backup at the time of its creation. This option is enabled by default. However, in rare cases, this verification may result in a false positive. This means that the file was uploaded correctly, but for some reason, the file size returned incorrectly. For example, this can happen when the file is saved on a device that supports hardware compression. For such cases, you can disable this option. - Emergency destination. If this option is enabled, SQLBackupAndFTP will use this destination only when there are errors copying the backup to the primary storage. For example, this might occur if there is insufficient space in the regular storage.
Please remember to test the destination connection before saving the settings.
